Choose your repository
Mintlify uses a docs-as-code approach. Every page on your site has a corresponding file stored in your documentation . You can use your own Git repository or a Mintlify-hosted repository.Mintlify-hosted
Mintlify creates a private GitHub repository connected to your deployment.Choose this if:
- You only work in the web editor
- You want to get started quickly
- You want Mintlify to manage your repository
Your own repository
Connect your own Git repository to your deployment.Choose this if:
- You work locally and sync to your remote repository
- You already have a documentation repository
- You want documentation under your GitHub organization
Deploy your site
- Mintlify-hosted
- Your own repository
1
Create your account
Go to mintlify.com/start and create your account.
2
Skip GitHub connection
Click Skip when prompted to connect GitHub.
3
Complete onboarding
Follow the onboarding prompts. Mintlify creates a private repository in the
mintlify-community organization and configures the GitHub app.4
Your site is deployed
Your documentation is deployed at your
.mintlify.app URL.View your site
Your site is deployed athttps://<your-project-name>.mintlify.app.
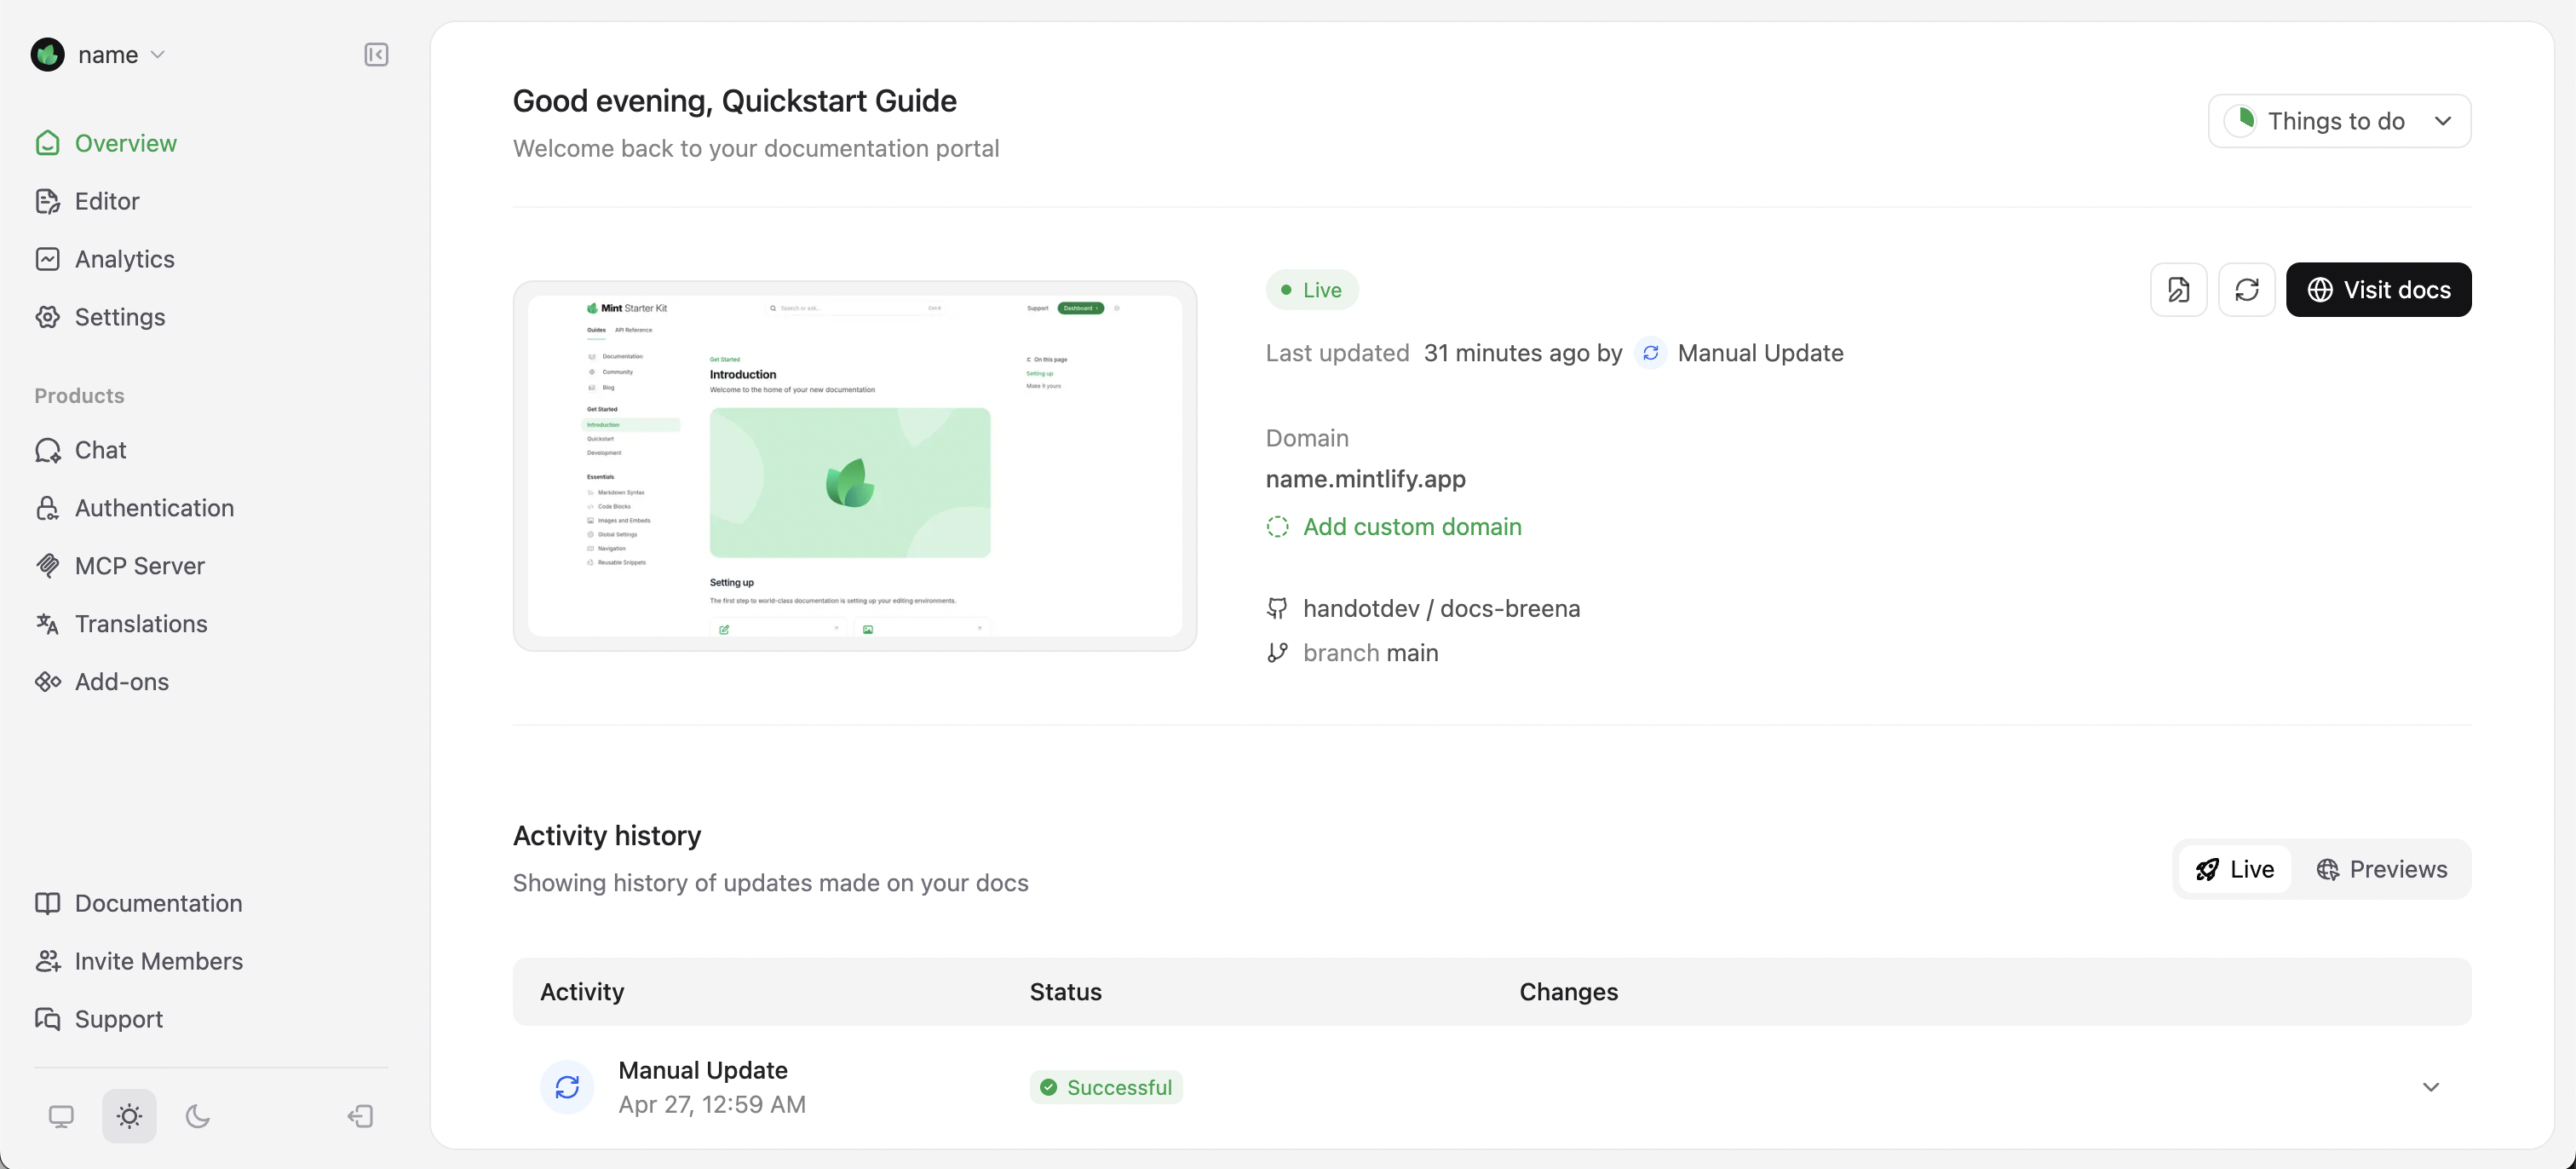
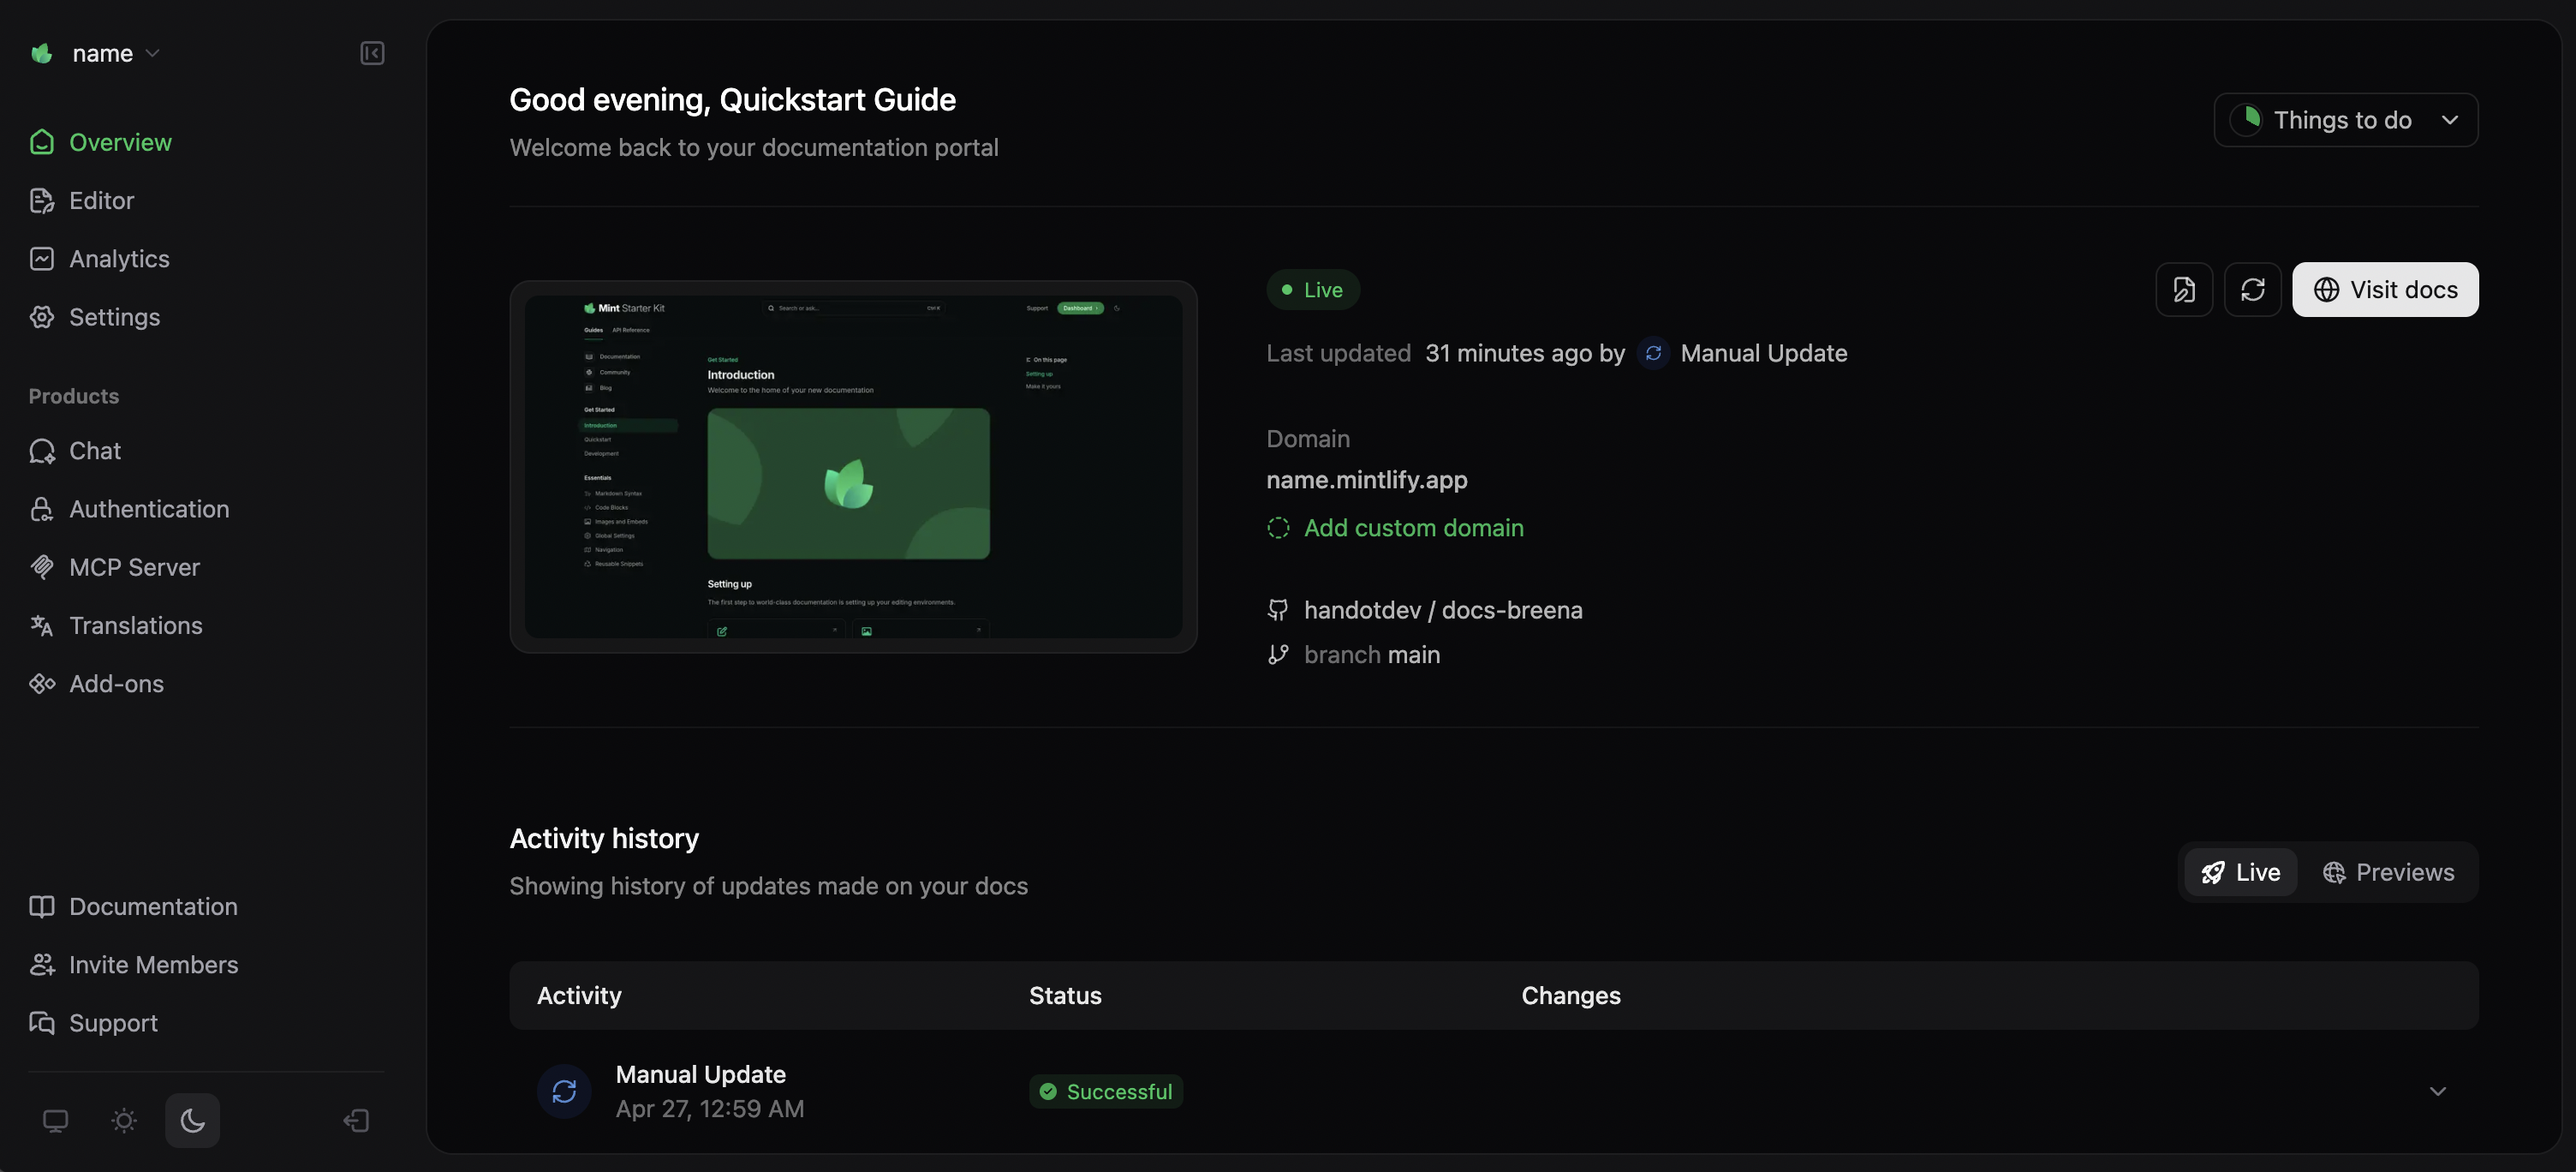
Find your URL on the Overview page of your dashboard.
Make your first change
1
Open the web editor
Go to the web editor in your dashboard.
2
Edit a page
Open
index.mdx and update the description:3
Publish
Click Publish in the top-right toolbar.
4
View live
Check deployment status on the Overview page. Refresh your site to see your changes.